In today's digital age, user authentication is a fundamental aspect of almost every mobile application. Whether it's accessing personalized content or securing sensitive data, a robust login system is essential for delivering a seamless user experience. In this blog post, we'll explore how to build a simple login app using Flutter, Google's open-source UI software development kit.
Introduction to Flutter
Flutter, a dynamic framework crafted by Google, empowers developers to craft natively compiled applications across mobile, web, and desktop platforms, all from a unified codebase. Flaunting an expressive and adaptable UI toolkit, Flutter facilitates the creation of visually stunning and high-performance applications spanning various platforms.
Prerequisites
Before we dive into building our login app, make sure you have the following prerequisites installed:
- Flutter SDK: Get started with Flutter by installing it using the official installation guide.
- Code Editor: Use your preferred code editor, such as Visual Studio Code or Android Studio, with the Flutter plugin installed.
Step 1: Create a New Flutter Project
First, let's create a new Flutter project using the flutter create command:
flutter create login_app
cd login_app
Step 2: Design the User Interface
Next, let's design the user interface (UI) for our login app. Open the lib/main.dart file in your code editor and replace the existing code with the following:
import 'package:flutter/material.dart';


void main() {
  runApp(LoginApp());
}


class LoginApp extends StatelessWidget {
  @override
  Widget build(BuildContext context) {
    return MaterialApp(
      home: Scaffold(
        appBar: AppBar(title: Text('Login App')),
        body: Center(
          child: LoginForm(),
        ),
      ),
    );
  }
}


class LoginForm extends StatelessWidget {
  @override
  Widget build(BuildContext context) {
    return Container(
      padding: EdgeInsets.all(20.0),
      child: Column(
        mainAxisAlignment: MainAxisAlignment.center,
        children: [
          TextField(
            decoration: InputDecoration(labelText: 'Username'),
          ),
          SizedBox(height: 20.0),
          TextField(
            decoration: InputDecoration(labelText: 'Password'),
            obscureText: true,
          ),
          SizedBox(height: 20.0),
          ElevatedButton(
            onPressed: () {
              // Handle login button press
            },
            child: Text('Login'),
          ),
        ],
      ),
    );
  }
}
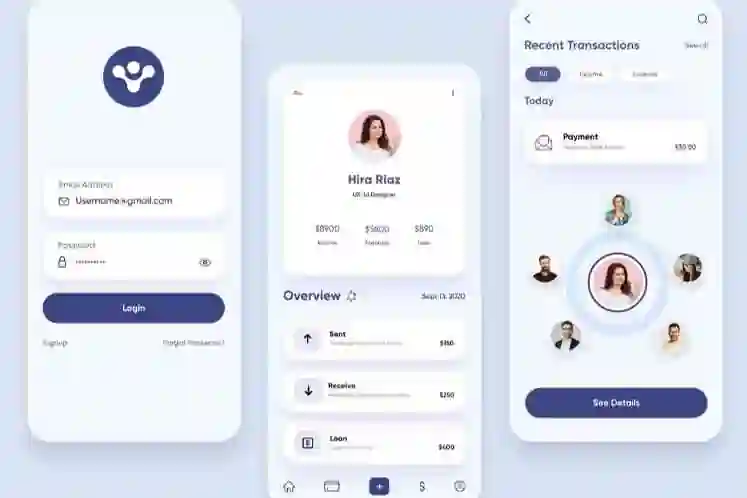
This code sets up a basic login form with text fields for username and password, along with a login button.
Step 3: Implement Login Functionality
Now, let's implement the login functionality. Update the onPressed callback of the login button with the following code:
ElevatedButton(
  onPressed: () {
    // Simulate login functionality
    if (usernameController.text == 'admin' && passwordController.text == 'password') {
      // Navigate to the home screen if login is successful
      Navigator.push(
        context,
        MaterialPageRoute(builder: (context) => HomeScreen()),
      );
    } else {
      // Show error message if login fails
      ScaffoldMessenger.of(context).showSnackBar(
        SnackBar(content: Text('Invalid username or password')),
      );
    }
  },
  child: Text('Login'),
),
Step 4: Create the Home Screen
Finally, let's create a simple home screen to navigate to upon successful login. Add the following code to a new file named home_screen.dart:
import 'package:flutter/material.dart';


class HomeScreen extends StatelessWidget {
  @override
  Widget build(BuildContext context) {
    return Scaffold(
      appBar: AppBar(title: Text('Welcome')),
      body: Center(
        child: Text('Welcome to the Home Screen!'),
      ),
    );
  }
}
Conclusion
Congratulations! You've successfully built a simple login app with Flutter. By following this step-by-step guide, you've learned how to design a user interface, implement login functionality, and navigate between screens in a Flutter app. This is just the beginning of your journey with Flutter, and there's so much more you can explore and build using this powerful framework.

